Pages

Showing posts with label DIY. Show all posts

Wednesday, December 25, 2013

Stuff I Made

It only took me 12+ months, but I finally finished J's quilt.  Although I once again thought "Why did it take me so long?!", it was all worth it in the end.  It's all flannel with a handsewn binding & 'wonky crosshatch' quilting.  I even napped under it last week, and it earned 2 thumbs up.  

This is a twin sized quilt, and my machine is just not made for something this size.  I think I'm retiring from anything bigger than a baby quilt.  


J helped me make cookies......


I found THE soft caramel recipe!


Tried out a Cinnamon Pull-Apart Bread recipe. 
Verdict: Good!


And made crock pot caramel with apples for neighbor gifts.  


Whew!

What am I going to do with all my free time in January?! 

(good thing I have a handful of new books waiting in my Kindle)

Thursday, November 28, 2013

Freezer Paper Tshirts

When we were prepping for our trip, I brought up the idea of making special Disney shirts for the kids. To my surprise, Husband was on board with the idea, and suggested we make them for all of us.  

OKAY!!  

After scouring Pinterest, I decided to try out Freezer Paper Shirts.  I had seen these for years, but never believed they would turn out well.  Fortunately, I was wrong!  They were really easy, and we all loved the finished product. 

Supplies needed: shirts, freezer paper, exacto knife, cutting mat, fabric paint, foam brushes. 

First, I found an image we all liked, and I sized it for both adult and kid shirts.  

Next, I taped it onto a cutting mat, then taped a piece of freezer paper over it (shiny side down).   I traced the design with a pencil, and then hand cut it with an exacto knife.  


Here is the finished stencil:


Then, I ironed the stencil onto the shirt, shiny side down (prewashed the shirt, and ironed it so it was nice & smooth). 


Finally, I applied 2 coats of black fabric paint with a foam brush and let it fully dry. I made sure to put a piece of cardboard inside the shirt so there would be no chance of the fabric bleeding through onto the back.  I actually cut up a frozen pizza box - the wax coated paper was the perfect layer to prevent bleed-through.  


When the paint was dry the stencil peeled off with no problems and all the lines were nice and crisp!

At the last minute we decided to add the date and the kids' names to the back of their shirts.  I downloaded a Disney-esque font for free, printed out the date & names, and hand cut the freezer paper stencils (be sure you keep the inside pieces when cutting letters/ numbers!!).  


I love how these turned out, and the kids are excited to have custom "souvenirs" of our trip.

Friday, November 9, 2012

Kitchen & Dining Update

Even though I've pretty much given up on finishing a timely and regular William Morris post, I am still DOING them.  And last weekend, I decided on a whim that it was time to paint the kitchen and dining room.  I've been procrastinating for months, and I really wanted to get it done before the holidays so I could stop looking at those drab, sad walls.  

Let's take a trip back to the very beginning, shall we?


This is what it looked like when we bought it.  


Wallpaper, a border, and an odd, slightly sick looking pale grey-green paint.  


And let's not forget the green cloth vertical blinds!  Months later they were still coated with pet hair and dust, despite repeated cleanings!  


I stripped the wallpaper last Fall, leaving two-tone walls and scrapes to be patched.  


A few months ago we dumped the ceiling fan and hung a new chandelier.  


And then last weekend, fueled by a sleepless Friday night, I decided it was time to paint!  I was going to use the leftover gallon of Creamy Mushroom from the front room, figuring that it was neutral enough to work while we decided how far to take the kitchen remodel (to paint the cabinets or not?  replace counter top?  do nothing?).  At the last minute, the Voice of Reason - aka Husband - pulled me aside & asked if that was what I really wanted.  It wasn't, and so I showed him my very first inspiration image: 

(this was taken from a home tour at The Kitchn, and the homeowner is actually Under the Sycamore)

What I really wanted was a pale, happy blue, with white cabinets and butcherblock counters, and updated appliances.  

So we whipped out the paint chips, picked one, and I ran down to my favorite home improvement store to buy some last minute paint.  

Ta Da!


This is Heavenly Blue by Martha Stewart, color matched into Behr Premium Plus Ultra paint.  


In some of these pics it reads very "baby boy blue", but I swear, it's not.  


Of course I painted the trim white (yes, the wood doors will go white too, but they are really damaged from the previous pets, and I didn't have time/ the desire to fix them right now).  


Do you like the clutter and the missing vent cover?  Just keepin' it real out here.  


We all love the color.  It makes me happy just walking into the room, and isn't that the point of personalizing your home?  And it even got me pumped to paint the cabinets in the Spring.  Best $32 I have spent in a looooong time!

Thursday, October 4, 2012

The William Morris Project: Now With More Door Painting!

Amazingly, I was done with this week's William Morris project days in advance!  

Shocking!

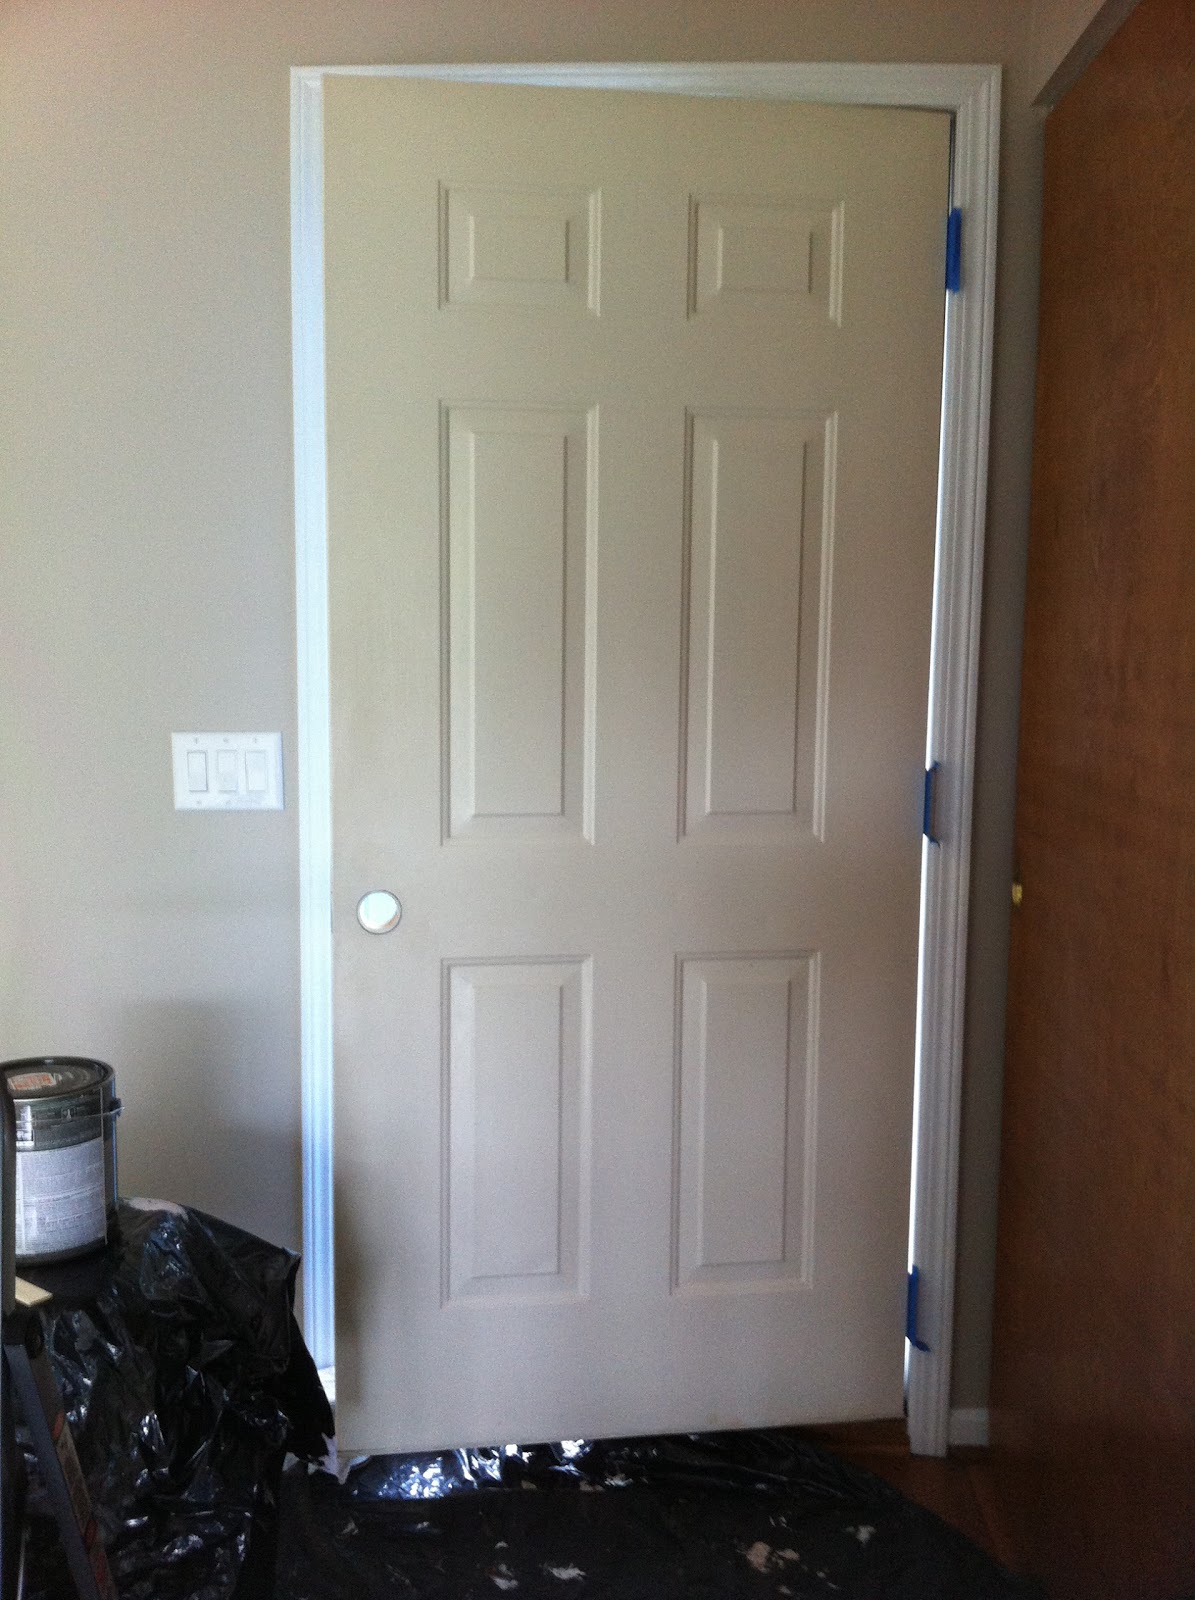
After all, I only painted a door - the inside of the front door, to be exact. 

After I had freshened the surrounding walls with Creamy Mushroom, our poor builder's basic front door looked so drab next to the crisp white trim and soft tan around it. 


So I was inspired to paint it a deep, chocolatey brown. 


The first coat was scary!


But after 3 coats of semi-glossy goodness, it is a chocolate dream!  A cocoa-hued portal to the outside world!  It looks fantastic against the white trim, and I love the rug against it.  


If you are on the fence about painting your doors, do it.  I love it so much I'm thinking of painting the kitchen walls the same tan, just so I can paint the door to the garage brown!

This post is part of The William Morris Project, with Pancakes and French Fries.  She's doing a project each day for the month of October, but I'm not that crazy.  


Thursday, September 20, 2012

The William Morris Project: Different Week, Slightly Different Post

I know, it's a stupid title, but given that this week is essentially just a continuation of last week, it's all I have.

From this: 


To this:
(I love it!)


From this: 


To this: 


2 successful projects in 2 weeks.  Slow & steady wins the race, right? 


Thursday, August 2, 2012

The William Morris Project: Bright Lights Edition

Remember last week's little teaser?  


Well, here's a hint:


Don't you love the "before"?  I know, we're not quite ready for an "after", but good things come to those who wait, right?  Right.  
PS - I know you're jealous of my wallpaper. 


And a VERY good thing came my way last week. Can you guess what it is?  I know, I hate guessing games too, unless they result in international getaways or diamonds or ice cream.  You really just can't lose with ice cream.  Unless you're lactose intolerant in which case, I'm sorry for you. 

Anyway..... 
A potent combination of web stalking, being ready extra early on a work day (a rarity tantamount to an albino tiger), and luck brought this lovely to my home last Wednesday!  


 The backstory is that I actually pinned this exact chandelier 40 weeks ago.  I liked the modern lines and classic style, and the fact that it was available at my local Big Hardware Store.  But I didn't like the $179 price tag.  So, I continued to live with The Hideous Fan of Grossness while other home projects took precedence.  Then last week I noticed a handful of light fixtures had been marked down online, and while my local store showed there was ONE available, it wouldn't let me purchase it online.  I chalked it up to bad luck and put it out of my mind.  The next morning I woke up still obsessing thinking about it and decided it couldn't hurt to swing by & see if there might be one laying around.  There was!  And it was marked like this:


After I picked myself up off the floor (it was 1/3 the price of what I had seen online), I hightailed it to the checkout counter with my prize in tow.  It WAS a display model, but the staff assured me that I could return it as long as I kept my receipt. 

Return it?  NEVER!
I was a little apprehensive that Hub wouldn't like it, but he was totally on board - especially after seeing the price tag. We did end up spending another $2 for a cross bar to hang it with, $4 for the hook, and $13 for CFL bulbs.  So my lovely chandy ended up costing a grand total of $34.26.   


I know, it's a poorly lit picture, but I just can't look away from its blazing glory.


Good-bye disgusting fan!  I hope you make some Goodwill shopper very happy! 


And then.....

The knob on the garage door fell off.  And it just wouldn't screw back in securely, so of course it was time to make the upgrade (finally!) to brushed nickel... with an actual working key to the lock (up til now, we have only had keys to the back doors).  So, if we're going to do one, we may as well do the front door and rear garage door, too, right?  And choose a lock set that matches so we only need ONE key to get into the house.  What a concept!

Good-bye hideous brassy knobs with no keys.  


Hello beautiful brushed nickel with a working key.  You look lovely against that blue front door.  


And let's end with some irony: My lovely new doorknobs conspired to lock me out of the house this morning.  I thought I'd be "extra safe" last night & lock the door from the house to the garage.  This morning I hustled the kids into the garage, and grabbed a bag of trash to throw into the bin, leaving my purse, keys, phone on the counter.... and not realizing that my fancy new knob would allow me to open the door from the inside without unlocking it - BUT NOT LET ME BACK IN.  One hour, one ruined window screen, one nice neighbor with a phonebook, several clumps of hair on the ground, and $45 later, we were back on track.  


This post is part of The William Morris Project from Pancakes and French Fries.  Be inspired!


Thursday, July 19, 2012

The William Morris Project: Wall Decor

Well, after an unplanned 4 week hiatus, here I am with another William Morris project.  I finally fought off the heat-induced lethargy and get my butler in gear enough to put up some prints I made for M's room, and one I finally got around to framing.  Not terribly impressive, but still done.  Please excuse the horrible iPhone photos.  I had a choice between quick & dirty photos or not posting at all.  You're welcome.


I like this, but it bugs me that the type is so close to the edge of the frame.
I think I'll be reframing it next week. 


I love how this turned out.  
Thank you, Cricut!


This is her nickname, and we both love the shiny foil background with the hot pink bunny. 


I have had my eye on this Lisa Congdon print for months.  
It will be hung somewhere in my bedroom (it's time to start tackling that disaster), as part of a gallery wall of family photos and momentos.
I used a frame we already had, and gave it a quick spray of Krylon gloss white. I had previously used Heirloom White and HATED it. So much for the ravings of other bloggers.  Lesson learned.


This posting is part of The William Morris Project, as instituted by Jules at Pancakes and French Fries.  Link up and join the fun!