Pages

Showing posts with label The William Morris Project. Show all posts

Thursday, October 4, 2012

The William Morris Project: Now With More Door Painting!

Amazingly, I was done with this week's William Morris project days in advance!  

Shocking!

After all, I only painted a door - the inside of the front door, to be exact. 

After I had freshened the surrounding walls with Creamy Mushroom, our poor builder's basic front door looked so drab next to the crisp white trim and soft tan around it. 


So I was inspired to paint it a deep, chocolatey brown. 


The first coat was scary!


But after 3 coats of semi-glossy goodness, it is a chocolate dream!  A cocoa-hued portal to the outside world!  It looks fantastic against the white trim, and I love the rug against it.  


If you are on the fence about painting your doors, do it.  I love it so much I'm thinking of painting the kitchen walls the same tan, just so I can paint the door to the garage brown!

This post is part of The William Morris Project, with Pancakes and French Fries.  She's doing a project each day for the month of October, but I'm not that crazy.  


Thursday, September 20, 2012

The William Morris Project: Different Week, Slightly Different Post

I know, it's a stupid title, but given that this week is essentially just a continuation of last week, it's all I have.

From this: 


To this:
(I love it!)


From this: 


To this: 


2 successful projects in 2 weeks.  Slow & steady wins the race, right? 


Thursday, September 13, 2012

The William Morris Project: Lamps, and Plans, and a Little Crafting

Alrighty.  As usual, Thursday snuck up on me like a Ninja (especially astonishing as I spent most of yesterday resenting the fact that it was only Wednesday, and not Friday).  I haven't done much this week except continue to adjust to the new school/work/activity/homework/husband's crazy schedule.  So yeah.... I don't have a real "project" to share for this week.  But a few weeks ago I bought these hideous lamps, and I DO have plans for them.


I have needed bedside lamps for ages.  But I am tainted by the internet.  I see so many Goodwill transformations and DIY tweaks that I have a warped sense of what I should be able to do with the things around me.  I should be able to jaunt into the local Goodwill, pick up a matching yet horrendously ugly set of lamps priced at $2.71 each, and with a swath of spray paint and a few yards of ribbon, turn them into the lamps of my dreams.  And yet, our Goodwill is AWFUL, and the few lamps I already own are just not right for use next to the bed.  So when I happened upon these hideous beauties at Lowe's a few weeks, it was hard to pass up what was essentially a 2-for-$20 deal.  Yes, they were even a mix-and-match pair, so I consciously chose the green base and blue shade.

I know.

But I don't hate the shades, even though they clash a little (lot) with our blue/grey/greenish walls.  I plan to spray the bases white and call it good.  For now, they live in the realm of the functional.


And then there's this:


After spending months pinning yarn wreaths, I got off (or really, I got ON) my duff and made one.  Or most of one.  Accoutrements are still in progress. 

Have you made a yarn wreath?  If not, let me give you a few tips. 
  1. It doesn't take as much yarn as you think.  I have about a half skein left. 
  2. I used a straw wreath WITH the plastic on.  I also like the look of the squared foam wreaths.  It really does need a smooth surface to work best.  
  3. It is a BORING process.  I wrapped off and on for about 4 hours.  I'd do a section, then walk away to do something else for a while.  If you want to power through it, pop in a movie and settle in for some boredom.  I also found that sitting on the floor with the wreath held between my knees was the perfect way to keep both hands free and keep the wreath in place.  A little hard on the back, but very efficient. 
  4. It takes some zhusshing to get it right.  I'd wrap it 4 or 5 times, then work the strands into place, smoothing and tightening.  
  5. I don't ever work with yarn, so I wasn't sure where to start with it.  I worried that I was supposed to do something else with the yarn before wrapping, like re-wrap it into a pretty ball or something, but no, I just pulled out an end and went to town. 

 A few more felt flowers, and I'll have a pretty Fall wreath to go on my beautiful blue door!


This post is part of the weekly William Morris Project, a la Pancakes and French Fries


Thursday, September 6, 2012

The William Morris Project: Living Room

 Let's take a trip down memory lane, shall we? 

When we bought this house a year ago, this is what the front room and hallway looked like.  


Relatively innocuous.... but not good.  The walls were streaked with dirt where pets had rubbed against them.  The paint was a sad grey-green, which was repeated throughout the house.  And the wallpaper border just screamed "1990's!".  


We don't have furniture for this room, so even though it's been used as a play space, craft room, dumping ground, and storage locker, it hasn't been given any love. 

After 8 months went by, I decided to strip the wallpaper.  The wallpaper in the kitchen had come off in sheets, so I thought this would be no different.  I quickly discovered that the border had been applied over primed drywall..... and I think they used E-6000 instead of wallpaper paste.  After it took me 2+ hours to strip 5 feet, I had to rethink my approach.  


A few more months went by, and I finally rented a wallpaper steamer and got down to business.  2 hours later, the walls were de-papered.  There was so much damage where I had originally stripped the border that I had to skim coat the entire top 2 feet of wall, then prime it, then wipe down the walls to remove some of the nasty dirt.  FINALLY I was ready to paint.  

And now, it's lovely! 

I chose Creamy Mushroom by Behr (hard to tell, but it's a very light tan), and had it mixed in my favorite Behr Premium Plus Ultra in a Satin finish.  I actually had to use 2 gallons, because I painted the inside of the closet too (amazing how much extra space & time that tacks on to a project).   


I know, it's not an exciting color.... more the wall equivalent of khaki pants.... but it's clean, and light, and the newly white trim just glows.  As we do for each room we paint, we also replaced all the light switches and outlets with white toggle switches and white square outlets.


I like how the blue door plays off the brown, and I plan to paint the back of the door a deep chocolate brown for more contrast.  


I'm down to just 3 more painting projects.  I might even be done before Christmas! 

This post is part of The William Morris Project via Pancakes and French Fries.  


Thursday, August 9, 2012

The William Morris Project: Stripping!


I FINALLY got off my bum and decided to take on the Super Glue wallpaper border.  

Remember this?

 The wallpaper border that took me 2 hours to strip away 5 feet?


I decided that my time (and shoulder muscles) were more valuable than that, so I caved and rented a wallpaper steamer for $25.


 I think this beauty was first purchased in 1932 by a Hungarian weightlifter named Franz. She weighs about 56lbs. when empty, and is nearly immoveable when filled with 5 gallons of scalding hot water. 


The steamer box (seen in the green bucket) was also missing a perforated cover, so it commenced to shoot skin-melting steam out of a single hole, along with random drips of scalding water. It was so hot, and so heavy that I had to wrap a towel around my left hand so I could grip the hose & heave the entire thing above my head (the metal box plate, not the water tank).  After holding it in place for about 3 minutes, the wallpaper simply peeled away..... taking some of the primer and a smidge of the drywall paper with it.  Can't win them all, can I?


But now it's done!  And all I have to do next is sand it, skim coat it, sand it, and paint it!

I'm actually far more excited than that sentence can begin to convey.

Because when I am done with this room?
I GET TO PAINT MY KITCHEN.  

YAHOO!!!!

This post is part of The William Morris Project via Pancakes and French Fries.


PS: Sorry this is late.... I've been attempting to blog via iPad, and it is not working for me at all.  Any tips?  

PPS: Too bad no one was around to capture photographic evidence that I ripped out the curtain rod with my bare hands.  Yes, that's how frustrated I was - bare hands & bloody fingertips. 

Thursday, August 2, 2012

The William Morris Project: Bright Lights Edition

Remember last week's little teaser?  


Well, here's a hint:


Don't you love the "before"?  I know, we're not quite ready for an "after", but good things come to those who wait, right?  Right.  
PS - I know you're jealous of my wallpaper. 


And a VERY good thing came my way last week. Can you guess what it is?  I know, I hate guessing games too, unless they result in international getaways or diamonds or ice cream.  You really just can't lose with ice cream.  Unless you're lactose intolerant in which case, I'm sorry for you. 

Anyway..... 
A potent combination of web stalking, being ready extra early on a work day (a rarity tantamount to an albino tiger), and luck brought this lovely to my home last Wednesday!  


 The backstory is that I actually pinned this exact chandelier 40 weeks ago.  I liked the modern lines and classic style, and the fact that it was available at my local Big Hardware Store.  But I didn't like the $179 price tag.  So, I continued to live with The Hideous Fan of Grossness while other home projects took precedence.  Then last week I noticed a handful of light fixtures had been marked down online, and while my local store showed there was ONE available, it wouldn't let me purchase it online.  I chalked it up to bad luck and put it out of my mind.  The next morning I woke up still obsessing thinking about it and decided it couldn't hurt to swing by & see if there might be one laying around.  There was!  And it was marked like this:


After I picked myself up off the floor (it was 1/3 the price of what I had seen online), I hightailed it to the checkout counter with my prize in tow.  It WAS a display model, but the staff assured me that I could return it as long as I kept my receipt. 

Return it?  NEVER!
I was a little apprehensive that Hub wouldn't like it, but he was totally on board - especially after seeing the price tag. We did end up spending another $2 for a cross bar to hang it with, $4 for the hook, and $13 for CFL bulbs.  So my lovely chandy ended up costing a grand total of $34.26.   


I know, it's a poorly lit picture, but I just can't look away from its blazing glory.


Good-bye disgusting fan!  I hope you make some Goodwill shopper very happy! 


And then.....

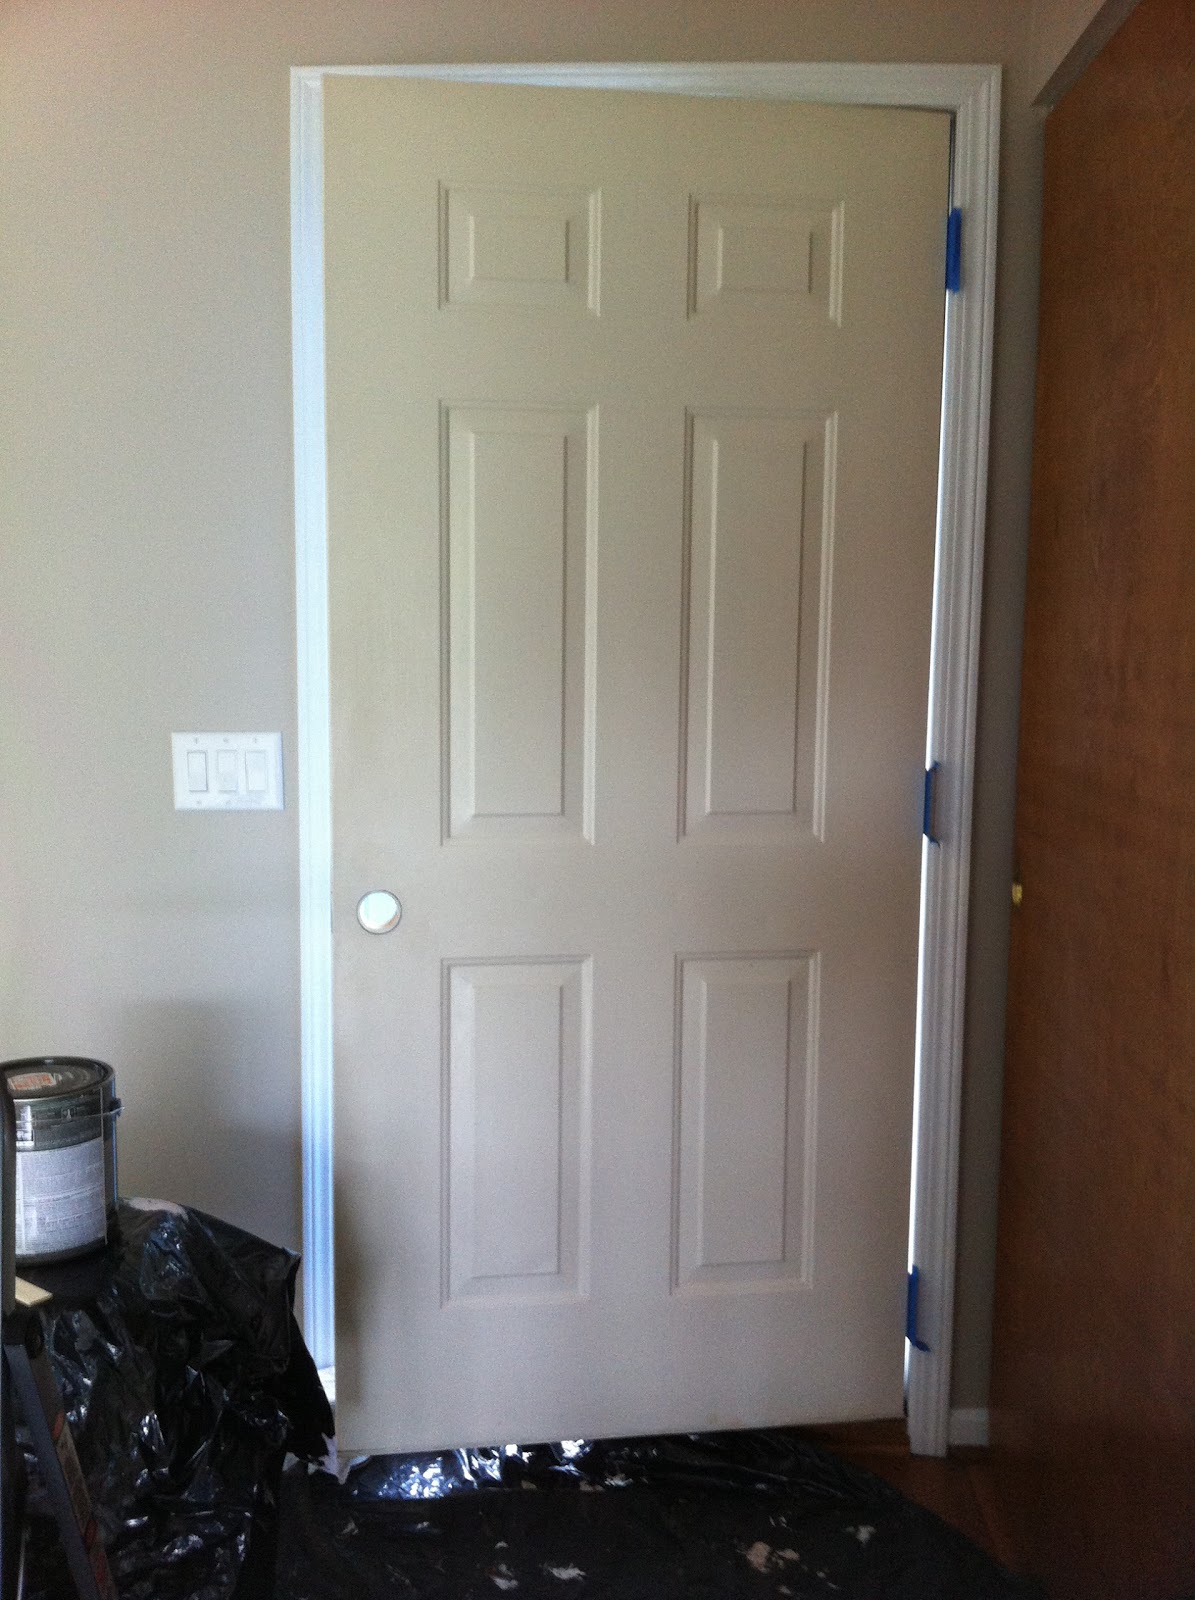
The knob on the garage door fell off.  And it just wouldn't screw back in securely, so of course it was time to make the upgrade (finally!) to brushed nickel... with an actual working key to the lock (up til now, we have only had keys to the back doors).  So, if we're going to do one, we may as well do the front door and rear garage door, too, right?  And choose a lock set that matches so we only need ONE key to get into the house.  What a concept!

Good-bye hideous brassy knobs with no keys.  


Hello beautiful brushed nickel with a working key.  You look lovely against that blue front door.  


And let's end with some irony: My lovely new doorknobs conspired to lock me out of the house this morning.  I thought I'd be "extra safe" last night & lock the door from the house to the garage.  This morning I hustled the kids into the garage, and grabbed a bag of trash to throw into the bin, leaving my purse, keys, phone on the counter.... and not realizing that my fancy new knob would allow me to open the door from the inside without unlocking it - BUT NOT LET ME BACK IN.  One hour, one ruined window screen, one nice neighbor with a phonebook, several clumps of hair on the ground, and $45 later, we were back on track.  


This post is part of The William Morris Project from Pancakes and French Fries.  Be inspired!


Thursday, July 26, 2012

The William Morris Project: A TEASER


With a long weekend away and a husband currently on vacation, I was woefully unprepared for this week's William Morris post.  But then I scored a lucky find yesterday morning!  And then we just couldn't get it done in time because of obligations and stuff.  So, I leave you with a teaser:


Also, is anyone else astonished that there are only 4 more weeks until school starts again?  Overall, we've had a good summer, but I'm not quite ready to send her back to school yet.  I haven't accomplished many of the big things I wanted to accomplish, so I guess it's time to kick it up a notch and get to painting again.  In other words: look forward to MORE.   

This lame post is part of The William Morris project spearheaded by Pancakes and French Fries.  Check back next week, I promise my WM projects will get better!


Thursday, July 19, 2012

The William Morris Project: Wall Decor

Well, after an unplanned 4 week hiatus, here I am with another William Morris project.  I finally fought off the heat-induced lethargy and get my butler in gear enough to put up some prints I made for M's room, and one I finally got around to framing.  Not terribly impressive, but still done.  Please excuse the horrible iPhone photos.  I had a choice between quick & dirty photos or not posting at all.  You're welcome.


I like this, but it bugs me that the type is so close to the edge of the frame.
I think I'll be reframing it next week. 


I love how this turned out.  
Thank you, Cricut!


This is her nickname, and we both love the shiny foil background with the hot pink bunny. 


I have had my eye on this Lisa Congdon print for months.  
It will be hung somewhere in my bedroom (it's time to start tackling that disaster), as part of a gallery wall of family photos and momentos.
I used a frame we already had, and gave it a quick spray of Krylon gloss white. I had previously used Heirloom White and HATED it. So much for the ravings of other bloggers.  Lesson learned.


This posting is part of The William Morris Project, as instituted by Jules at Pancakes and French Fries.  Link up and join the fun!